When was the last time that you gave your car some love? Washing your vehicle with water and car shampoo is only the beginning. Washing alone will not help in preserving the color and shine of the paint.
Regular waxing and polishing is a crucial part of car maintenance. The easiest way to remove and prevent scratches and swirl marks is to apply a thin coat of polish and wax at least once every three months. This will also preserve the clear coat and protect the finish from oxidation.
Here’s a fact you need to keep in mind: the paint job will directly affect the resale value of your vehicle. If you are planning to sell your old car and you want to get a good price, then regular washing and waxing will do the trick.
This is the expert’s guide on how to wax a car. The fun part is that you don’t even need to be an expert detailer to do it right.
Similar to the steps in washing your car, the secret to waxing is using the right tools and employing the right technique. Before discussing the easy steps in waxing your car, here are a couple of things that you need to consider.
1. Choose your car care products wisely. Product compatibility will not only make it easier to wax your car, but it will also provide the best results in terms of shine and water beading protection. If you are using a polymer-based polish from Turtle Wax, it would be best to use wax from the same brand. The same goes for Meguiar’s, Mothers, or The Chemical Guys. It is best to avoid mixing products to avoid problems such as stains, haze, and surface contamination.
2. Waxing is not the same as polishing the finish. Polish is used to clean and remove imperfections in the paint. Waxing will seal and protect the surface while providing brilliant and long-lasting shine. It is highly advisable to polish the paint at least once every 6 months. Wax should be applied every 3 months or once a month.
3. Waxes can either come in paste or liquid form. The choice is up to you. The only difference is the ease of application since the liquid wax is easier to apply. It is NOT true that liquid wax is more effective than paste wax or vice-versa.
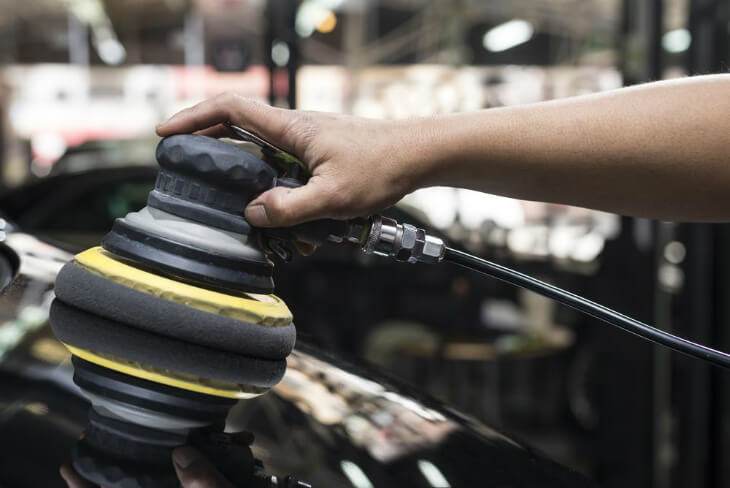
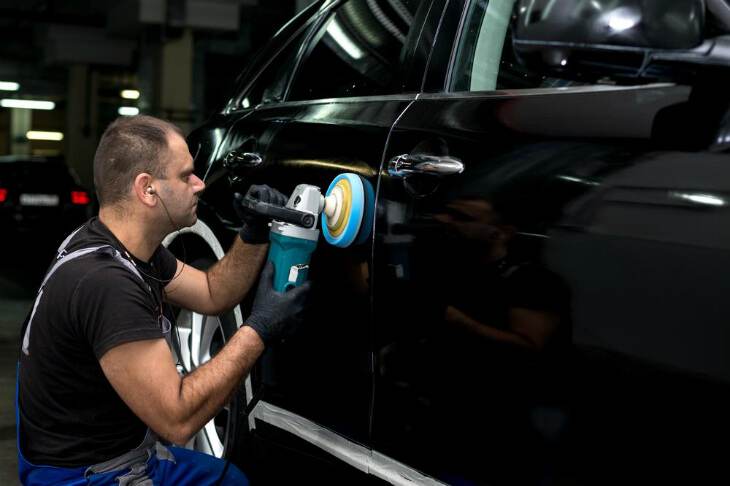
4. Waxing by hand vs. machine waxing. I personally prefer waxing by hand, but you can save a lot of time and effort by investing in a good orbital buffer. You should be careful when using a rotary buffer since this machine can burn off the paint when not used as directed.
5. Before waxing your car, take a few minutes to inspect and assess the condition of the paint. After washing and drying the vehicle, carefully run your bare hand on the hood, roof, and trunk. The surface should feel as smooth as glass. If not, you will need to apply wax. If you see mild scratches and swirls, it is maybe time to polish before applying wax.
6. If you are looking to achieve the best possible protection and shine, always choose a carnauba-based wax. Carnauba is the hardest commercial wax known to man. It also has the highest melting point of all waxes which makes it extremely durable.
How To Wax A Car Like An Expert
Things You Need
- High-quality carnauba wax (paste or liquid wax)
- Foam wax applicator
- Microfiber buffing towel
- Orbital buffer (optional)
Step 1
Park the car in a shaded garage away from direct sunlight. Always wash and dry the car thoroughly before applying wax. Do not wax the paint when it is hot to the touch.
Step 2
Inspect the paint finish. Are there remnants of bugs or dead insects on the paint? Do you see mild oxidation or dull surfaces? If so, you should think about polishing the paint before applying a coat of wax. Polish contains mild abrasives that will clean and condition the paint prior to waxing. Wax alone may not be strong or abrasive enough to remove surface imperfections.
Step 3
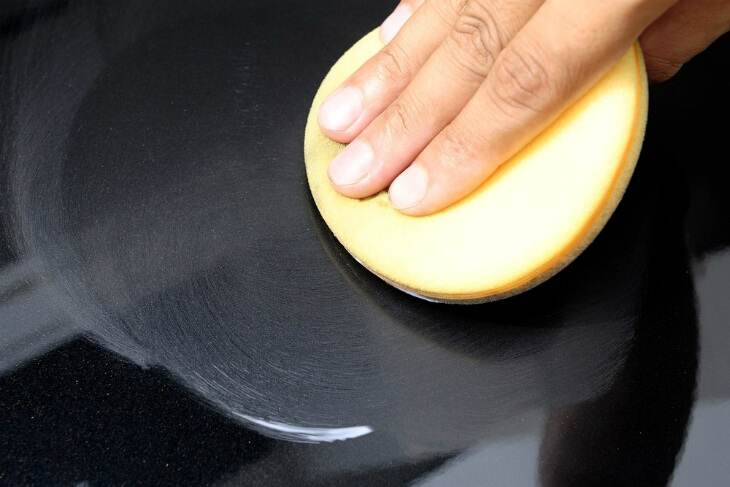
Apply a thin coat of wax using a clean foam applicator. More is not necessarily better. Thin coats of wax will provide a better shine. You should first wax the upper parts of your vehicle to avoid scratching the finish. Start waxing the hood, roof, and the trunk followed by the fenders, upper section of the doors, and the bumpers. The lower valance should be waxed last. Use a small and circular motion when applying wax.
Step 4
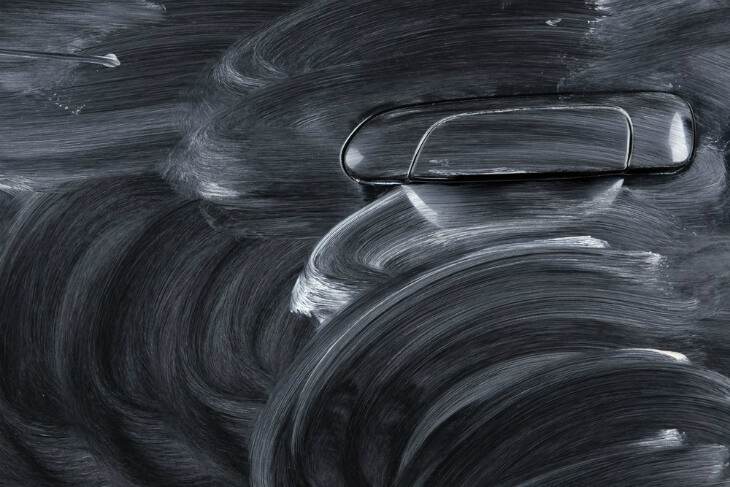
Work one section at a time. After applying wax, you should let the product dry to a haze. This will give the wax adequate time to bond with the paint. However, you should avoid letting the wax sit in the paint for prolonged periods of time. This might make it hard to remove the haze.
Step 5
Now comes the buffing part. You can buff by hand using a microfiber towel, or you can use an orbital buffer. You should employ the same trick in buffing as when you applied wax. Start from the top and work your way down. Buff the hood, roof, and the trunk before removing the haze from the fenders and the doors. This technique will prevent scratches and swirl marks for a flawless finish.
Step 6
Take a step back and admire your work. You can add a second coat of wax if you prefer. Go back to Step 3 if you want to add a second coat of wax.
Conclusion
Now that wasn’t too hard, right? Now you know the expert way of how to wax a car. Using the techniques mentioned above, you can maintain the shine and prestige of your paint while saving money in the process.