Swirl marks on the paint can be tricky to remove on dark-colored finishes. Swirl marks are more evident when the car is directly exposed to the sun. Those fine circles of scratches that you see on the paint are the result of improper cleaning and waxing techniques. Are you fond of wiping a dusty car with a dry rag? Tough luck. The wiping action alone is enough to mar the surface of the clear coat, hence giving the paint a scratched and uneven finish.
There are no shortcuts involved in the process of removing swirl marks. It will take some time, and it will require a bit of elbow grease. Of course, if you have access to an orbital buffer, then, by all means, use it, provided that you use brand new applicator pads and polishing attachments.
Before we get to the 3 easy steps on how to remove swirl marks, it is important to discuss the preparations you need to follow in order to make the swirl-removing process a little bit easier.
You might also be interested in The Best Swirl Remover For Black Paint: A Complete Buying Guide.
Contents
When it comes to Swirl Marks, Prevention is the Best Cure!

It is a bit hard to remove deep swirls, but it is not difficult to prevent them from contaminating the gloss and color of the paint.
1. Do not wipe your car with a dry rag to remove dust. If you are bothered about excess dust, you should wash the car with clean water and car shampoo. Forget about using a filthy feather duster.
2. It is highly recommended that you invest in a good set of microfiber towels to wash, dry, and detail your car. Throw away old and stained rags and don’t use them to clean your car. The act of wiping the paint with a dirty rag is enough to introduce a host of scratches and swirls in the paint.
3. When washing your car, it is best to wash from the top to the bottom parts of your vehicle. The side skirts, the lower parts of the fenders, and the bottom portion of the doors are nearer to the road and the tires. The lower portions are one of the dirtiest parts of the exterior. Wash your car starting from the hood, the roof, and the truck to prevent nasty swirl marks and mild scratches.
4. Regularly applying a thin coat of wax will protect the clear coat from scratches and swirl marks. You should wax your vehicle once per month (or at least once every 3 months) to preserve the look of the paint.
The 3 Easy Steps on How to Remove Swirl Marks
Listed below are the 3 easy steps on how to safely remove and eliminate scratches and swirl marks in your car. Like I previously mentioned above, you can use an orbital buffer for this procedure, but I prefer the tried and tested method of using my hands and a bit of elbow grease.
Materials Needed
- Abrasive polish
- Carnauba wax
- Car shampoo
- Small plastic bucket
- Microfiber wash mitt
- Microfiber towels
- Foam applicator pads
- Garden hose and water source
Step 1: The Wash

The first step is to wash your car. This will remove dust and dirt that would otherwise aggravate the swirl marks in the paint. Rinse the vehicle with clean water using a garden hose to remove standing dust and dirt. Next, mix a small amount of car shampoo in a bucket of water and proceed to clean the entire vehicle using a microfiber wash mitt. Do not wash your car under direct sunlight!
Make sure to first wash the topmost parts of the vehicle before proceeding to wash the lower portion of the car. After washing, rinse the vehicle well with clean water. Proceed to dry the entire surface using a clean chamois or microfiber towel. Click here to learn more about proper washing techniques.
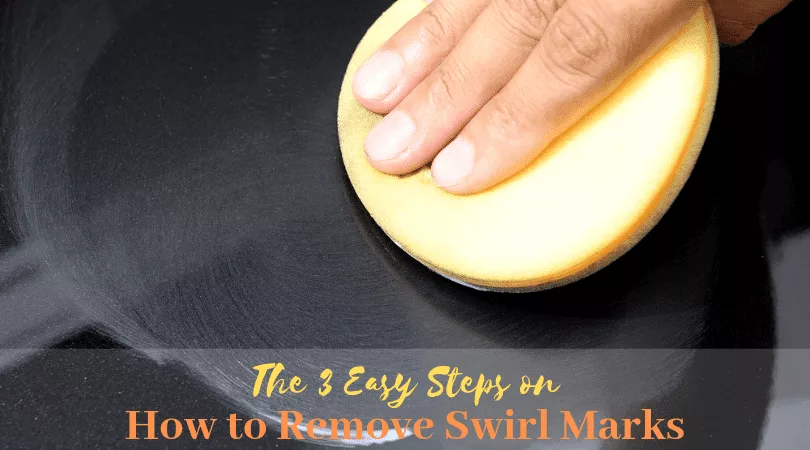
Step 2: The Polish

After the vehicle is dry, the next step is to apply polish. You can use any polish that you prefer as long as the product is the abrasive kind. There are products in the market called ‘pure polish’ that is free from abrasives. In order to effectively remove swirl marks, you will need to use a product that can remove an ultra-fine layer of clear coat.
- Apply the polish on the paint using a clean and dry applicator pad. Pour a small amount of polish on the pad and work the polish on one section of the vehicle at a time.
- Use a gentle rubbing motion using small circular patterns. Do not allow the polish to dry on the paint. Wipe off excess polish using a clean microfiber towel, buff lightly, and proceed to polish the remaining areas of the vehicle.
- Similar to washing your car, it is best to polish the upper portions of the vehicle before polishing the lower portions of the car.
- Apply more polish to the parts of the car that have severe swirl marks.
I prefer using the Meguiar’s Polishing Compound or the Nu Finish Liquid Car Polish for this step. Both products are safe to use on clear coat and can easily remove swirl marks, haze, and paint oxidation.
Step 3: The Wax

After polishing the paint, the golden rule is to never forget to apply a fine coat of wax. Wax will not only seal the paint and protect it from further damage, but it will also give the paint a glossy and mirror-like shine. You can use paste wax or liquid wax. I prefer to use a carnauba-based wax for the ultimate in protection and shine.
- Use a separate applicator pad when applying wax. Use only a small amount of the product for each section of the car.
- Wax the upper portions of the vehicle before waxing the lower portions. Start with the hood, the roof, and the trunk.
- Allow the wax to dry to a haze before removing the excess with a dry microfiber towel.
Conclusion
In order to reduce swirl marks in the paint, it is highly advisable to polish the finish at least once or twice a year. It is also best to wax the paint at least once a month in order to maintain the pristine condition of the paint.