When was the last time you cleaned the seatbelts in your ride? I bet you spend most of your time cleaning the exterior and interior without paying the slightest attention to the seat belts. But with daily use and exposure, those belts are sure to accumulate their fair share of dirt and grime.
You always put the seatbelts on before driving off, so it’s important to keep them clean at all times. And since you need to touch the seatbelt every time you put them on, they can easily acquire dirt and stains over many miles of driving.
In this article, we will show you the easy and simple ways on how to clean the seat belts in your car. You can do it using the basic materials you’ll find inside your home.
How To Clean Seatbelts
Materials Needed:
- Dish soap
- White vinegar
- Medium bristle brush or soft toothbrush
- Fabric spray cleaner
- Thick microfiber towel
- A small clamp to hold the seatbelt
- A small cup of clean water
- Steam machine (optional)
Step 1: Park the car in a safe and level garage. Turn the engine off and engage the parking brake.
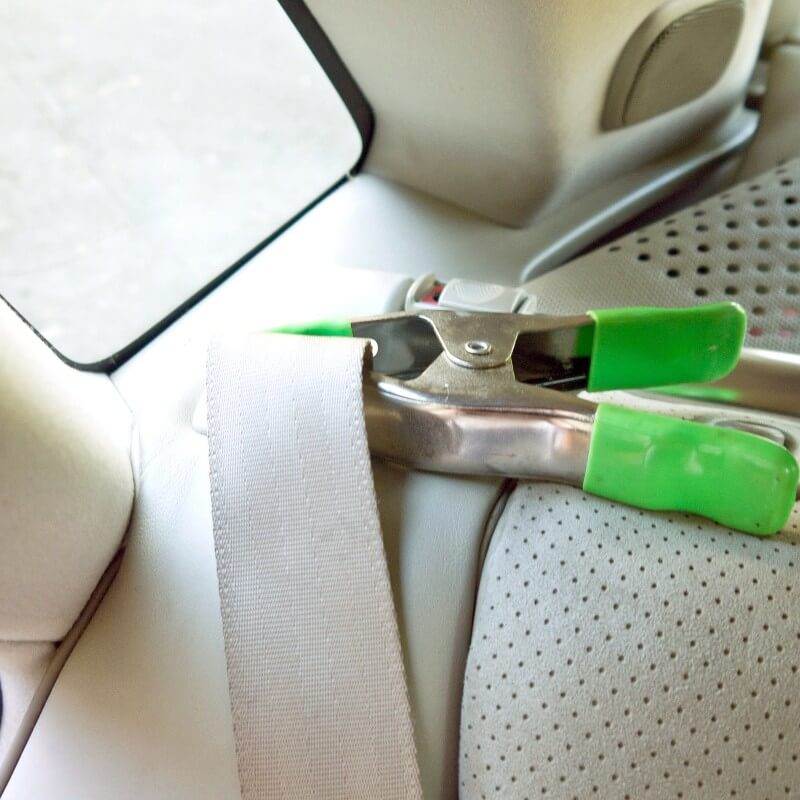
Step 2: It’s better to clean one seat belt at a time. Open the door and gently pull the seat belt most of the way out of the retractor. Use a clamp to prevent the belt from retracting as you clean. You can use a small alligator clamp or binder clamp for this procedure. The trick is to keep the seatbelt from retracting into the spool until fully dry. Retracting a wet or damp seat belt is not advisable. It causes mold, mildew, and funky odors over time. It will also cause early deterioration of the webbing.

Via www.popsugar.com
Step 3: Now is the perfect time to inspect the seat belt. If you see frayed or damaged areas, it’s better to replace the seat belt instead of cleaning them. Avoid using broken or damaged seat belts. You’ll never know when an accident is going to happen. Replace damaged or worn out seat belts immediately!
Step 4: After inspecting the webbing, it’s time to clean the belt itself. Start by spraying a light mist of fabric cleaner on the belt. Lightly agitate the cleaner using a medium bristle brush or soft toothbrush. I personally like using a toothbrush when cleaning seat belts. A toothbrush is easier to hold and is gentle on the webbing. Make sure to brush in the direction of the webbing. Brushing against the webbing may lead to fraying or light damage.
Avoid saturating the seatbelts with cleaner. The trick is to keep it from soaking too much cleaner or liquid to prevent damaging or deteriorating the webbing. The seatbelts in your vehicle may feel soft and light, but they can withstand up to two tons of force. It relies on the webbing to withstand the force of sudden deceleration. Any hint of damage on the belt may affect the safety performance of the device.
Step 5: For tougher or darker stains, mix two or three drops of dish soap in a small cup of water. Dip the toothbrush in the cleaning solution and proceed to gently brush the seat belt. If you smell faint odors in the seat belt, mix a teaspoon of white vinegar in the cleaning solution. Dip the toothbrush and proceed to brush the belt gently.
Vinegar is not only helpful in removing stains and odor, but it prevents the growth of mold and mildew on the belt surface.
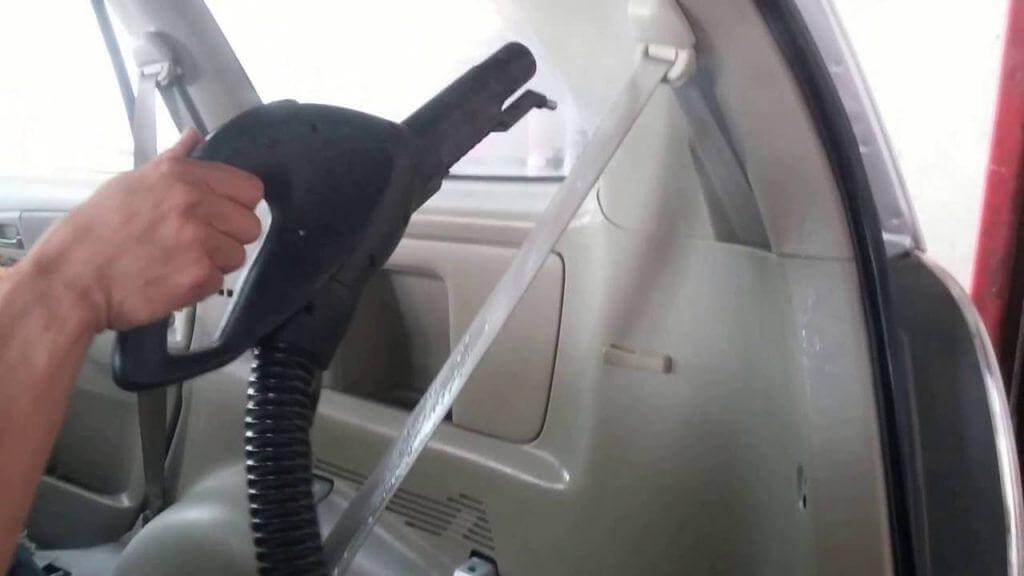
Step 6:If you have access to a steam cleaner, use it on the seatbelt after cleaning with soap. Steam helps to remove any remaining dirt and oil in the fabric without using too much liquid. Steam is also an easy way to remove mold and mildew without using harsh cleaning products or chemicals. But if you don’t have a steam cleaner, basic soap and water will do.

Step 7: After cleaning the seat belts with fabric cleaner or dish soap, grab a lightly moist microfiber towel and wipe the belt gently. Think of this step as removing the excess soap before drying. As always, remember to avoid soaking the belt in too much liquid.
You can also dip the cloth in clean water mixed with a couple of drops of fabric softener to give the seatbelts a hint of fragrance. Gently press the cloth over the belt to absorb excess liquid while endowing the seat belt with a fresh scent.
Step 8:After wiping the seat belt with a moist towel, it’s time for the drying process. All you need to do is to lightly press the belt in a thick and dry microfiber towel to absorb all the soap and water in the webbing. Avoid wiping the belt with excess force if necessary. Simply place the towel on the belt and press gently.
Step 9:By now, the seatbelt is already clean, but it still needs to air dry before retracting it back to the spool. Leave the door open and allow the seatbelt to air dry for at least an hour. Now is the perfect time to clean the other seatbelts in the car. Repeat the above steps to clean all the seatbelts.
Step 10:After an hour, check if the seatbelts are fully dry. If not, allow the belt to dry overnight. Once dry, you can remove the clamp and retract the seatbelt.
Conclusion
You may need to spend more time cleaning lightly colored seatbelts. But after all is said and done, it will all be worth it. You should clean and inspect the seatbelts at least twice a year and clean it more often if the belts are repeatedly exposed to sun, wind, dirty fingers, and coffee stains. Never use harsh chemicals or stiff brushes when cleaning the seatbelts to prevent damage or deterioration.

