The battery is certainly one of the most important power sources in a vehicle, and without which you wouldn’t be able to turn on the AC or blare up some nice tunes, let alone start the car! There are a number of reasons why your battery can die, such as leaving the keys in the ignition, failing to close the car doors properly, leaving the light on for long periods, cold weather or simply because the battery is old and worn-out.
Fortunately, a battery is one of the easiest car components to fix thanks to jumper cables. However, before rushing to conclusions, make sure it is indeed the battery that needs to be fixed and not any other parts so you don’t end up wasting time and energy fiddling with the cables. The trick is to put the key in the ignition. If you don’t see any lights turn on or hear a sound, you are most likely dealing with a dead battery.
What Are Jumper Cables?

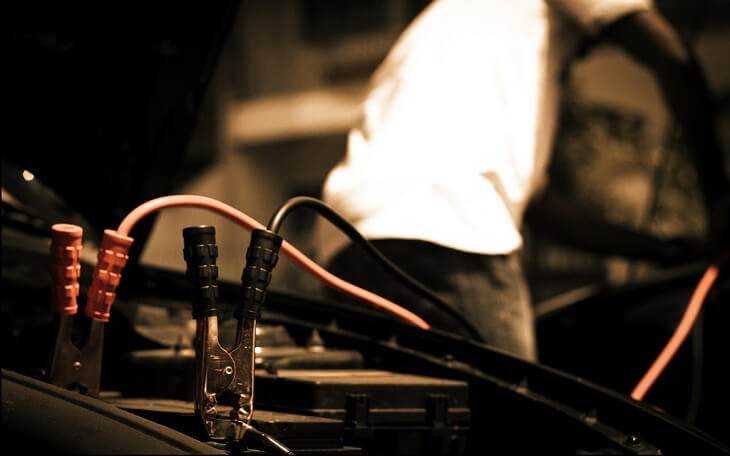
Jumper cables are a means of restoring voltage to a car’s battery, which on its own is not sufficiently storing enough power to engage the starter. As the car fails to start properly, it becomes necessary to use jumper cables in conjunction with a car or a running portable battery. These cables function by transmitting a charge from a working battery to a dead vehicle battery.
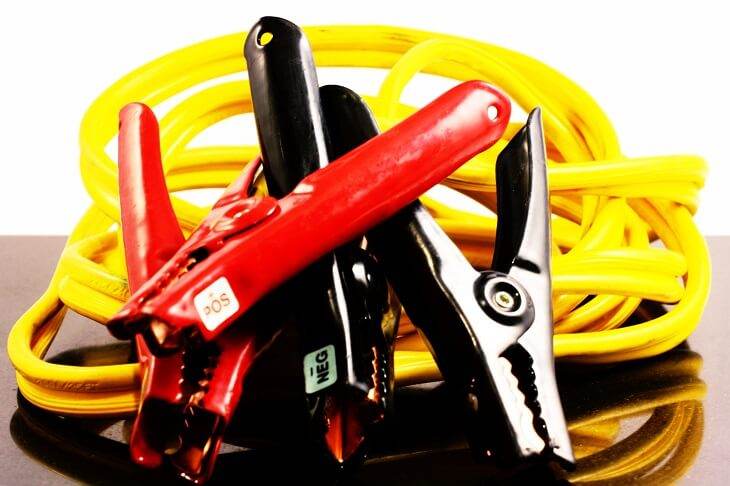
Jumper cables comprise of alligator clips that firmly attach to the terminals on either battery. The remainder cable features insulated copper wire, which is excellent for conducting electricity while the insulation makes sure the charge reaches the right place without resulting in any injuries or burns.
A pair of jumper cables is necessary for every vehicle owner. Choosing the right cables is important for preventing accidents and jumpstarting the car without a hitch. Listed below are some important features that you need to take into account when investing in a pair of jumper cables:
Gauge & Width
Spotting a nice, thick pair of “heavy-duty” labeled jumper cables at the store can be misleading. Instead, you should really be paying attention to the gauge of the cables themselves. Tip: a higher gauge doesn’t mean it is better! A 10-gauge cable will not be able to give you enough juice to jumpstart your vehicle, and a 6-gauge cable should succeed in giving you adequate oomph, except if you need to jumpstart a dump truck. The lower the number, the faster its ability to charge and the more power it transmits.
Clamp
When you are out choosing jumper cables, make sure you are getting a good, solid clamp with firm teeth that don’t look like they will slide off the battery terminals. Invest in some nice and high-quality rubber-coated handles that will help prevent you from getting electrocuted or injured.
Length
The ideal minimum jumper cable length is 12 inches, but a greater length is still better in case you are in a sticky situation and need a jump.
Cost
You should be able to find a great jumper cable deal for $40 to $60. Amazon is a great place to browse as they offer a wide selection of jumper cables at reasonable prices. Be sure to go through the reviews and pay special attention to the points mentioned above.
Positive & Negative Terminals

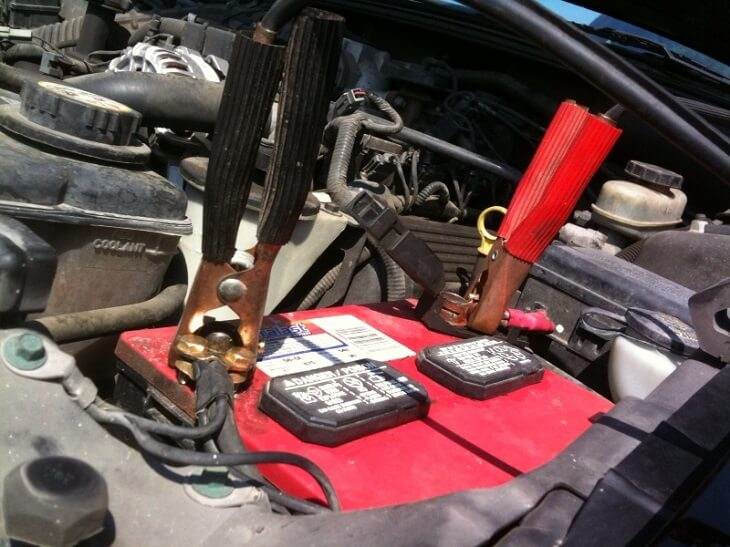
Jumper cables normally come in two colors: red and black. Two of the four cable clips are red while the other two are black. The color red shows the clips need to be connected to the positive terminals of both batteries. On the other hand, one of the two black clips connects with the donor battery’s negative terminal while the other piece is attached to a grounded metal piece in the car.
Owning and knowing how to use jumper cables is necessary for every driver. Since incorrect use of the cables can be dangerous, it is important to know each step in detail. Most jumper cables come with an instruction card or label, so be sure to check them out.
How To Use Jumper Cables – A Step-By-Step Guide
Things You Will Need
- A set of jumper cables (longer cables are more convenient to use). For high-amperages, make sure to get thicker cables.
- Another working battery (portable battery, another car’s battery)
Instructions

Step #1 – Find a Spare Working Battery or a Donor Car
If you don’t have a spare battery, the next option is to stop another car with a fully charged battery and ask them to help you out. You can also call a friend who drives a car to come and help you out. Next, park the two cars close to another but make sure they are not touching each other. Check and ensure the cars are in park, or in case of a manual transmission, in neutral.
Step #2 – Switch Everything Off
Switch off the radio, the ignition, interior lights and headlights of both the vehicles. Turn on emergency lights on both cars if safe.
Step #3 – Prepare Your Jumper Cables
Straighten the jumper cables so there is no room for knots or ties in the either cable. Also, make sure the clamps do not come in contact with each other as this could cause a short circuit.
Step #4 – Open the Hood and Locate the Batteries
Open the hoods of both cars, and place the batteries (be sure to go through the owner’s manual to eliminate room for errors) and battery terminals. Typically, the two terminals on each battery will be enclosed in red or black, with a + or – sign on top. Check the batteries and make sure you can recognize which is positive, and which is negative. This distinction is critical to the success of your jump. If the battery terminals are dirty, clean them off with a wire brush or rag.
Step #5 – Identify and Connect the Positive End of the Red Cable
Take the other end of the red jumper cable and clamp it to the positive battery terminal of the booster or donor car, which will also be marked with a “+”. Again, make sure the clamp is properly attached to the battery.
Step #6 – Connect the Other End of the Red Cable
Clamp the black jumper cable (the negative one) to the negative battery terminal of the donor car, which will be marked with a “_”. Secure the clamp tightly with the battery.
Step #7 – Identify and Connect the Negative End of the Black Cable
Take the other end of the black jumper cable and clamp it to the dead car’s flat, the metal surface on the engine. This can be either an unpainted screw or a bolt and provides a solid foundation for the jump-start. Be careful about the clamps touching any part of the engine.
Step #8 – Connect the Other End of the Black Cable
Start the donor car and let it sit idle for a couple of minutes.
Step #9 – Start the Donor Car
Start the dead car and run the RPM to about 3000. Let it sit idle for a few minutes.
Step #10 – Rev Up The Previously Dead Car
Start the dead car and run the RPM to about 3000. Let it sit idle for a few minutes.
Step #11- Disconnect the Jumper Cables
Once you have the dead car up and running, disconnect the jumper cables in the following manner:
- The negative ground on the dead battery (engine screw or bolt)
- The negative terminal on the donor battery (black clamp)
- Positive terminal on the donor car’s battery
- Positive terminal on the earlier dead battery
If your car still doesn’t run, the problem may not be with your battery after all. Call a roadside mechanic or a tow truck at this point to solve the problem.
To help you understand the process of jump-starting your car better, here is a helpful video.
Important Safety Tips When Handling Jumper Cables
• Make sure the jumper cables are insulated and clean.
• Don’t try to restore a dead car’s battery if it is cracked or leaking in order to avoid explosions. Prior to connecting the two batteries, be sure to wear safety gloves and protective eyewear. In case a battery has an eroded terminal, clean it wearing protective gloves. Cleaning the terminals facilities clamps to connect properly.
• Unplug any electrical devices nearby, such as cell phones, tablets, and smartwatches.
• Try to involve a friend or a passerby to avoid the risk of injuries and to get it done quicker.
Now that you are well versed in the subject, it is time to prepare yourself for your next car battery emergency by keeping this information in mind.

