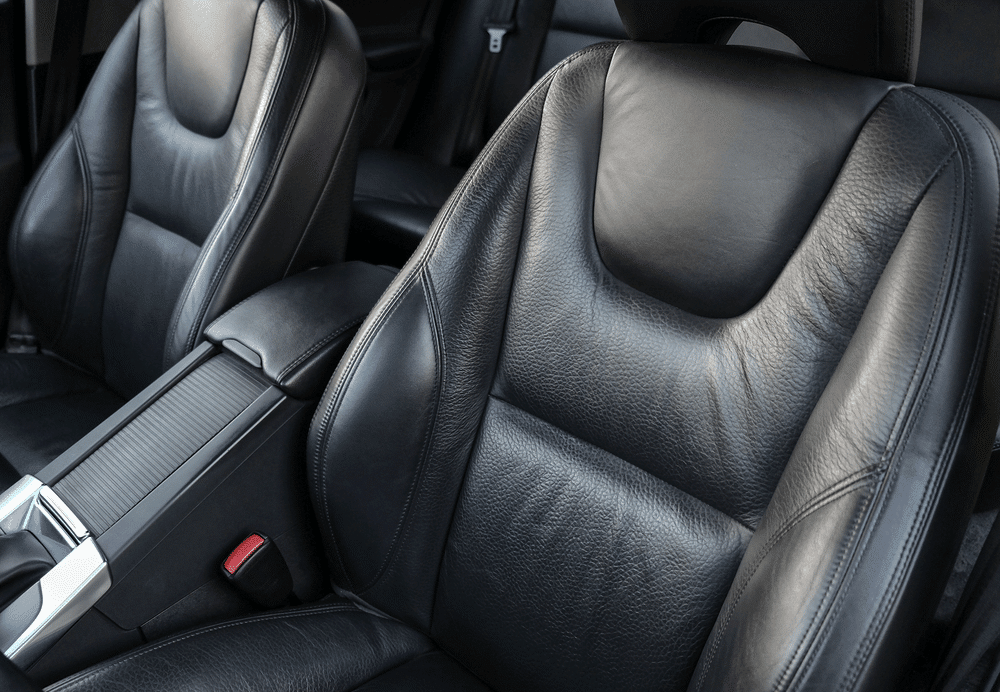
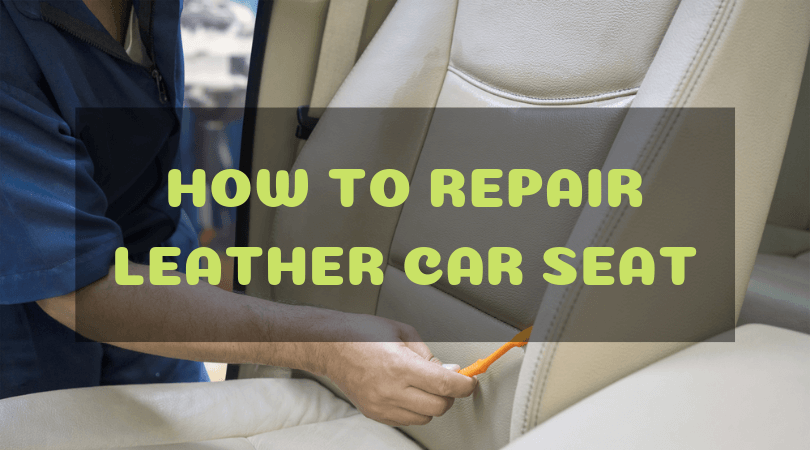
I prefer the look and feel of a leather interior. I also like the smell of it. It somehow contributes greatly to the new car scent of any brand new car.
Leather is also remarkably easy to clean. Unfortunately, it is easy to mess everything up. Leather seats can be punctured easily by sharp objects like tools, pens, and even paper clips. Leather will also warp, crack, or fade without adequate cleaning and maintenance. It is also susceptible to the harmful UV rays of the sun.
Cuts, tears, cracks, and holes in your leather seats will not only look unsightly, but they can be expensive to repair or replace. In today’s money, refurbishing a single leather seat will cost upwards of $150, and that’s no joke.
If you have the money, then it wouldn’t be a problem. But if you’re a bit short on cash and you want to quickly get rid of that annoying hole or tear in your auto leather seats, this article on how to repair leather car seats is right for you.
You can read a plethora of DIY topics on car leather seat repair, and it is easy to get blown away by all the information online. This helpful guide on how to repair leather car seats will only discuss the easiest and hassle-free methods to an effective and lasting repair.
Contents
Leather Seat Care Tips

Before discussing the methods of leather car seat repair, here are a couple of tips on how to maintain the pristine look of your leather upholstery:
- Always park in the shade. If you can help it, it is always a good idea NOT to park under the hot baking sun. Ultraviolet rays will wreak havoc on your leather interior and will lead to premature deterioration.
- Install car tint. High-quality car tint will help block the harmful UVA and UVB rays of the sun. This will not only protect the beautiful leather interior of your ride, but it will also be favorable to your health by preventing skin cancer. If installing a car tint is legal in your state, give it a try.
- Avoid carrying sharp objects inside your pockets. The primary cause of holes, cuts, or tears on leather seats is the intrusion of a sharp object upon sitting in the car. You should also avoid placing tools or pet carriers directly above the seats. Cover the surface with a soft cloth before placing sharp objects or bulky luggage over the leather seats.
- Clean and condition the seats at least once a month. You should take some time to clean the leather seats and apply a leather conditioner to protect the seats. You should do this every time you wash or clean your car.
How To Repair Leather Car Seat
Forget about repair methods that utilize heat. Here are some of the easiest ways to quickly and effectively get rid of holes, cuts, and tears on your leather car seats.
Method #1: Use Auto Leather Repair Kit

There are a lot of auto leather repair kits in the market. But the best I’ve tried so far is the LeatherPlus Leather and Vinyl Complete Restoration and Repair Kit. This product does not require the application of heat and can be used on leather car seats, shoes, luggage, jackets, and furniture. It even works great on vinyl seats!
Here are the easy steps for easy leather repair.
Step 1: Assess The Damage
Look closely at the extent of the damage. Is it a small hole caused by cigarette burns? Is it a large tear? Whatever the case, this will help you decide how much backing fabric or filler to use.
Step 2: Prepare The Damaged Area
Grab a Q-tip or cotton swab and clean the damaged area with ethyl rubbing alcohol. This process will remove dirt and oil from the hole or tear and will help the adhesive to cure faster once applied.
Step 3: Cut The Backing Fabric To Size
The LeatherPlus Leather Repair Kit contains a bunch of backing fabrics that you can cut to size. Use a sharp pair of scissors to cut the right amount of backing fabric. Make sure that it is substantial enough to cover the damage.
Step 4: Insert The Backing Fabric Under The Affected Area
Use the provided plastic spatula to insert the backing fabric under or behind the damaged area. Again, you should ensure that the entire area is covered by the backing fabric.
Step 5: Apply The Adhesive
The next step is to apply the adhesive solution over the damaged area. The LeatherPlus Leather Repair Kit will also make it easy to match the color of the adhesive with the color of the seat. This will make your repair look more professional.
Simply apply the colored adhesive solution to the affected area. Make sure that you apply enough adhesive to cover the entire area. At this point, the backing fabric inserted earlier should not be visible since it will be covered by the colored adhesive. Allow the adhesive to dry for 15 to 20 minutes or more depending on the ambient temperature.
Step 6: Buff To Finish
Grab a clean Q-tip or cotton swab. Wet one end of the cotton swab with ethyl rubbing alcohol and use this to lightly rub and blend the dried color adhesive. Take your time in doing this. The better you blend, the better the results. Apply light pressure to somehow even out the edges to cover the damage completely.
You’re done!
Method# 2: Peel And Stick Method
For the next method, I prefer to use the MastaPlasta Peel and Stick Repair. This product is great to cover up holes, rips, or stains on leather car seats, sofas, and bags. I particularly like the Axiomhide fabric that feels soft to the touch. This product is also great for vinyl seats.

Step 1: Cut The Fabric To Size
Using sharp scissors, carefully cut the Axiomhide fabric and make sure that it is large enough to cover the damage in your leather seats.
Step 2: Stick Into Place
Carefully peel off the protective backing on the fabric and firmly adhere into place. You’re done! This product is available in a variety of colors (black, red, ivory, and dark brown) to match the color of your leather seats.
Conclusion
The methods on how to repair leather car seats discussed above are only good for small to moderate sized cuts and tears. If the leather seats in your car are deteriorating into a faded mess, you will need to consult the services of a professional.

