All modern automobiles that use combustion engines for producing power have positive crankcase ventilation (abbreviated as “PCV”) valve. The main task of this value is to the buildup of gasses in the engine chamber to escape in a controlled manner with the correct air-to-fuel ratio.
However, since they carry grease, moisture, and oil with them, the residue may build inside of the PCV valve. If the deposits start building up too much, it will cause trouble for the valve to open up properly.
This leads to significant engine damage, reduced engine efficiency, and power, and decreased gas mileage, all of which are symptoms of a dirty PCV valve. Over time, the PCV will get dirty with the various residue of liquids.
Car manufacturers suggest that the best solution to this problem is to get your PCV valves replaced or cleaned after driving somewhere between 20,000 and 50,000 miles. However, this may vary depending on the vehicle you are driving.
Therefore, you might have to consult your owner’s manual to see the accurate time/miles after which a replacement or cleaning is due. Some PCV valves may also have a varied location depending on the type of car you are driving. Are you planning to take clean your PCV valve?
If so, then here are a few do-it-yourself tips. The valve is usually replaced during scheduled tune-ups. However, if you don’t have enough time to visit a mechanic, following these tips might prove useful.

Via Youtube
Things You Will Need
- Air Compressor
- Degreaser
- Pliers
- Rags
- Car Manual
Cleaning The PCV Valve
Step 1
Via itstillruns.com
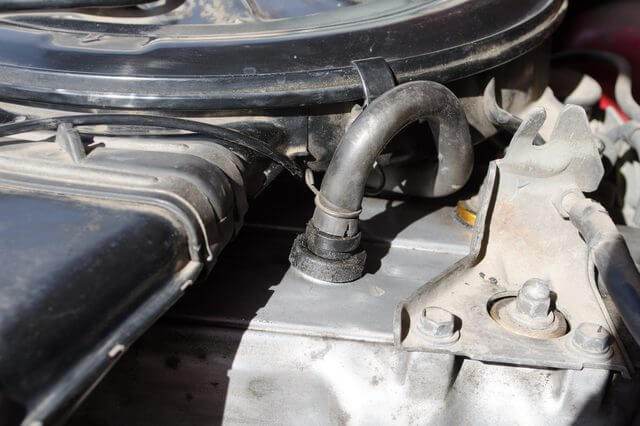
When it comes to cleaning the PCV valve, it is vital that you first read the repair or car manual. This way, you will be determining the exact location of the PCV valve for the model, make, and year of your vehicle. Depending on what car you drive, the PCV valve may be plugged into a rubber grommet in the valve cover or near the intake manifold.
There is a hose leading to the PCV valve, which is kept in position by a clamp. One of the best ways to look for the valve is to find a little L-shaped housing on the end of that hose on top of the engine block. The valve itself is about two inches long, almost making it seem like a small metal cylinder. It will be covered with a thick rubber hose.
Step 2
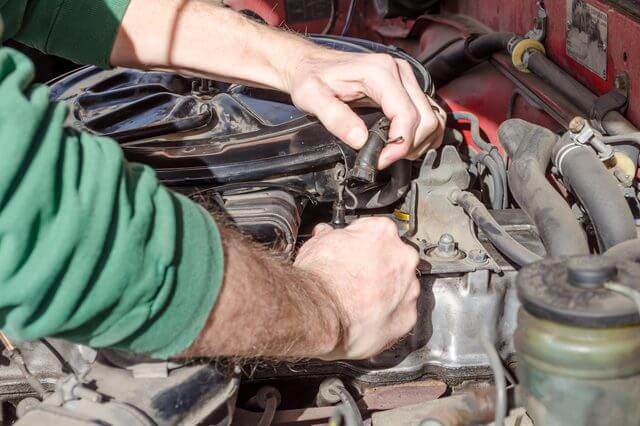
Once you have located the hose next to the valve covers or the engine valve, carefully pull it out off the top from the PCV valve. This can be done with your bare hands. However, it is imperative that the vehicle is not too hot; otherwise, you may end up burning your hands. If you are examining the PCV valve due to car issues, make sure the engine cools down first.
Step 3
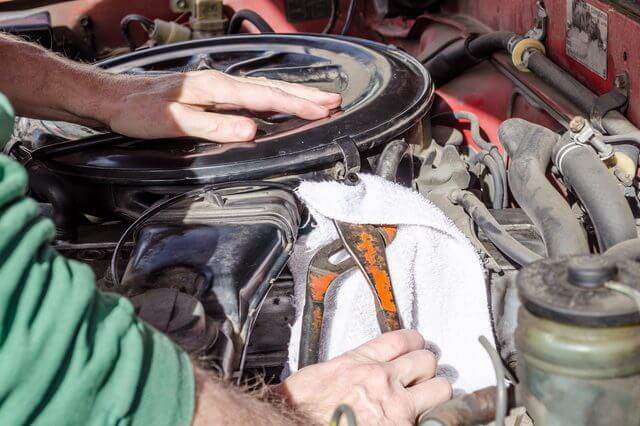
After you have removed the hose carefully, take a spare cloth or rag and wrap the PCV valve in it. Clam the pliers around the valve and pull it straight up in one motion. The valve should immediately come out of its position. However, just in case it gives a little trouble, pour a little grease to smooth things out and ensure efficient removal.
Step 4
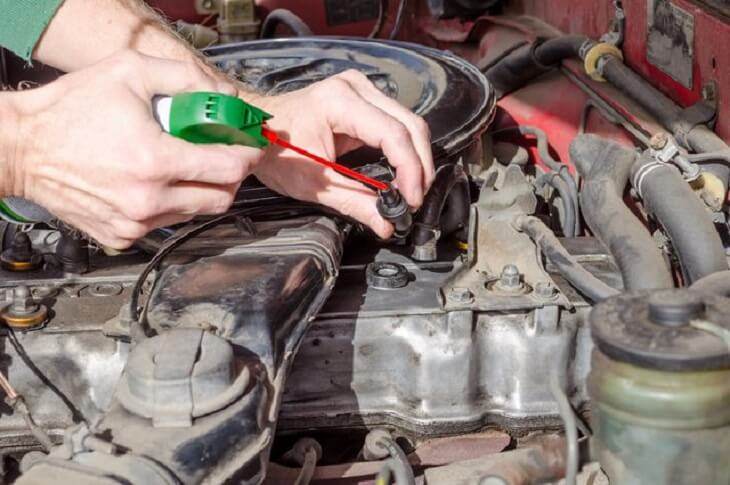
Now that you have the PCV valve off, it is a good time for you to also inspect the hose, grommet, and hose clamps. Take a damp cloth and clean the hose from the outside. Then use a little degreaser for clearing the dirt, oil, and moisture from the hose.
Once dried, blow through it thoroughly. However, if you notice that your hose is full of sludge, looks spongy, feels, brittle or soft, it is a sign that you need to have it replaced. If the grommet and the clamps look deteriorated, worn out, or rusty, you should have them replaced too. Check your car’s manual for gaining information regarding the correct type and size hose for your car’s engine and PCV valve.
Step 5
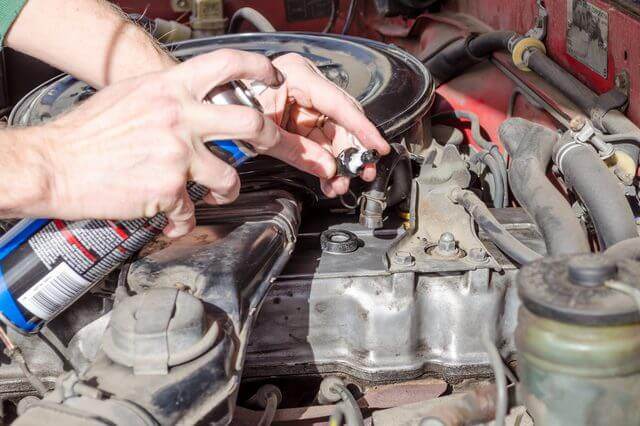
After you have cleaned the hose, it’s time you inspect the valve. To start cleaning, blow through the hole in the center of the PCV valve. It is advised to use an air compressor from either a small hand-held can of compressed air or any other device. Make sure that all dirt, debris, and moisture are cleared out completely.
Step 6
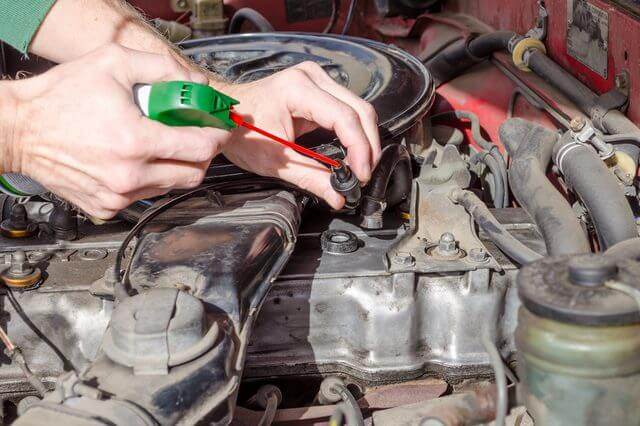
After you have used the air compressor, spray a degreaser coating on the outside and inside of the valve. The degreaser will help in removing dirt, debris, and moisture that has been attached to the inside and outside of the valves, causing poor fuel-efficiency. After the valve is dried, blow out the center cavity of the PCV once more time with an air compressor.
Step 7
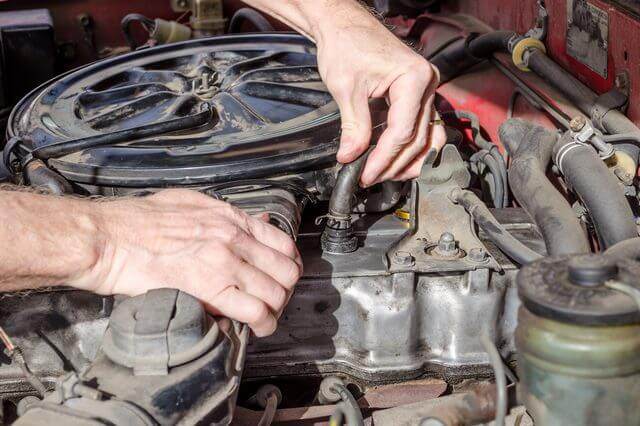
Now that the PCV valve and the hose, both have been cleaned – it’s time you have them installed back. Push the valve back into the hole on top of the engine block or in on the engine valve covers. However, make sure that it’s pushed all the way in.
If you are having a hard time getting it fixed into the right position, consider wrapping the end of the valve in a rag. Clamp the pliers down onto it and push it the rest of the way with a little force. Reconnect the rubber hose to the top of the PCV valve, and you are done with the cleaning!
If you want to replace your PCV valve, simply follow step 1, step 2, step 3, and step 7. Since you won’t have to clean the valve, all you have to do is buy a new one and use step 7 to have it installed properly.
However, make sure that you read the car owner’s manual to find out the type that best suits your cars needs and requirements. Therefore, now that you are familiar with the steps mentioned above, cleaning a PCP valve won’t be a problem.
Here is a handy YouTube video on PCV valve maintenance.

