How To Change The Oil In Your Car’s Engine
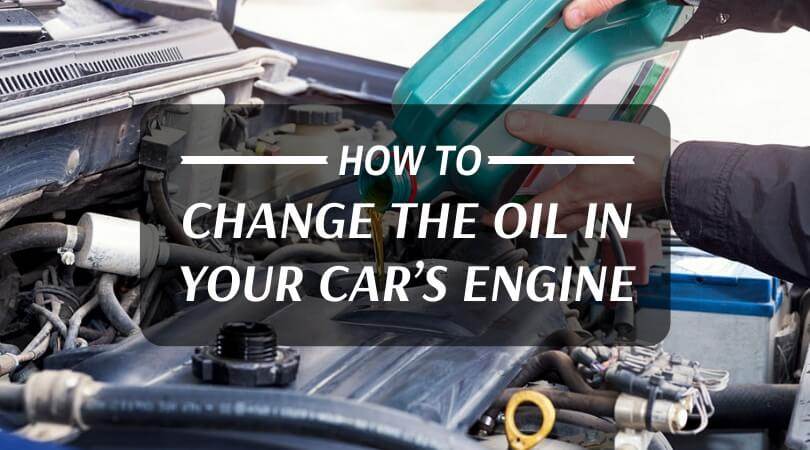
It goes without saying that regular oil changes are critical in maintaining a clean, smooth, and fuel-efficient engine. In this simple DIY guide, we’ll show you the ropes on how to change the oil in your car’s engine. If you’re new to cars, learning how to change the engine oil will save you significant money … Read more