Cold weather is great. Ready for a winter camping? While it is easy to reduce humidity during sunny days, you may be wondering what to do to guard your motorhome against condensation when coldness arrives.
Condensation is responsible for ground-level fog. There are excess moistures that can be found anywhere, your windows and the other glass areas. A cold weather outside is better if you have a warm RV that comforts.
Fortunately, there are solutions that can help you keep condensation away in your RV. Read on and find out how to reduce condensation in your RV in just 3 simple ways.
What Is Condensation?

Condensation is the transformation of gas into the liquid phase. Condensation occurs when a gaseous form in the air changes into liquid water as it collides into a cooler surface. It is defined as the removal of heat in such a manner that vapor is turned into liquid. If you know what vaporization is, then think condensation as the reverse.
To understand better, think about a cold bottle of water you drink during summertime. Have you seen water droplets coming out? This happens due to condensation.
Step By Step Guide To Reduce Condensation In Your RV

In this guide, you will learn 3 ways to reduce condensation in your motorhome. Please be reminded that you can follow your own idea to perform this action.
1. With Moisture Absorber
Mold-causing condensation is common in RVs. Having moisture absorber is a good start. It can be effective in warmer weather. It also works great during winter days. One best action you can do is to bring one wherever you go.
There are different types of moisture absorber: Silica Gel, Clay Absorbers, and Calcium Chloride. Silica Gel has a very strong absorption quality but is a poisonous substance. Clay Absorbers is a cheap alternative but it’s not good for heavily humid areas. Calcium Chloride is great for high humidity moisture but it is also harmful to humans.

What You Will Need:
- Moisture absorber (Here we will use Calcium Chloride)
- Electric fan
- Bucket
- Hand gloves
- Mouth mask
- Eye mask
Procedures:
Step 1: Check your basements, cabinets, kitchen, closets and other spaces that are prone to condensation.
Step 2: Safety first. Wear gloves to protect your skin against severe dryness. Don’t forget to cover your mouth to avoid inhalation as it can damage your throat and intestines. Lastly, cover your eyes for safety.
Step 3: HOW TO REDUCE CONDENSATION IN YOUR RV is easy with Calcium Chloride. Fill a clean and dry bucket with Calcium Chloride. Avoid overflowing it. Two or more buckets are great for bigger RVs and provide a speedy effect.
Step 4: Bring the buckets in the areas where condensation commonly appears. Sometimes, it takes too long for the effect to come into sight. Consider the next step to solving this problem.
Step 5: Use an electric fan. An electric fan can help in distributing the compound a lot faster. It can also help in spreading the dehumidifying effect in places that are hard to reach. All you need to do is to place a fan over a bucket of the moisture absorber and you are good to go.
2. With Dual-Pane Acrylic Windows

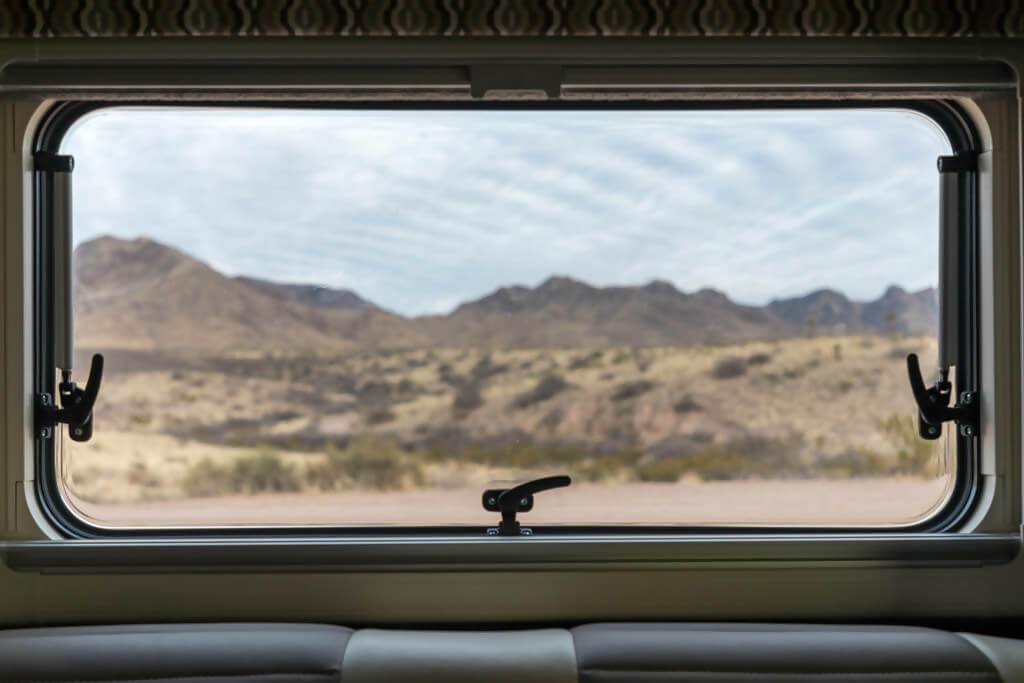
One other best way to prevent the RV condensation problem is to install dual-pane acrylic windows. Traditional RV windows are considered weak when it comes to insulation. Acrylic windows are used in residential and commercial areas but can also be used in fighting condensation in your motorhome.
Dual-pane acrylic windows provide immense insulation. This means you don’t need to wake up early in the morning wiping windows due to morning blaze and fogs. Acrylic windows can keep the RV warmer. Though these things cannot eliminate RV condensation the whole lot but you can personally see a reduction.
What You Will Need:
- Clear acrylic panes
- Fasteners
- Caulking
- Double-sided foam tape
- Work gloves
- Safety glasses
- Measuring tape
- Pencil/pen
- Clean rag
- Saw
- Hammer
- Knife
Procedures:
Step 1: Get a caulk and caulking gun and air seal the window. First, go around the edge side of each glass pane. Fill any gaps you can see around the window frame using a wet finger. Finish everything using a clean rag. Dry the caulk deeply before installing the acrylic.
Step 2: Get a measuring tape and measure your window opening. 1/8” should be too much. Acrylic is easy to trim, don’t remove the protective plastic or paper yet. You can use a sharp knife to trim the size. You can also use a saw. Make sure to go slow and always have your glasses on. Use a pencil and mark out your cut lines. Snap the acrylic but make sure to have a clean break. Don’t forget to wear gloves.
Step 3: This time you need to trim the indoor side of your window to prevent falling out or bending of the acrylic pane. You better cut in 45 degrees for the best cut. This will result in one long side and one short. The long side is the dimension of the window frame to be used inside.
Step 4: Now remove the plastic or paper cover of the acrylic and then attach the pane. To reduce condensation, put desiccants between the old glass and the acrylic. This will avoid damage to the wood and reduce condensation between the panes. Use double-sided foam tape to hold the newly attached pane to the old window frame.
Step 5: Caulk around the edge of the pane as well as frame once the acrylic is in place. Doing this will help prevent air movement. Peel back the edges of the pane back facing the inside part of the house. You can now install your trim.
Step 6: Do more caulking to cover up every gap. Caulk around the edges of the trim. If you are uncertain about your mitering skills, this is the chance to act in disguise. And, you’re done!
3. With Campground Showers

During colder months, RV condensation becomes worse. Campground showers are a great way to reduce condensation in your motorhome. If you are a full-time traveler, taking long showers inside the RV can be a major contributor to RV condensation.
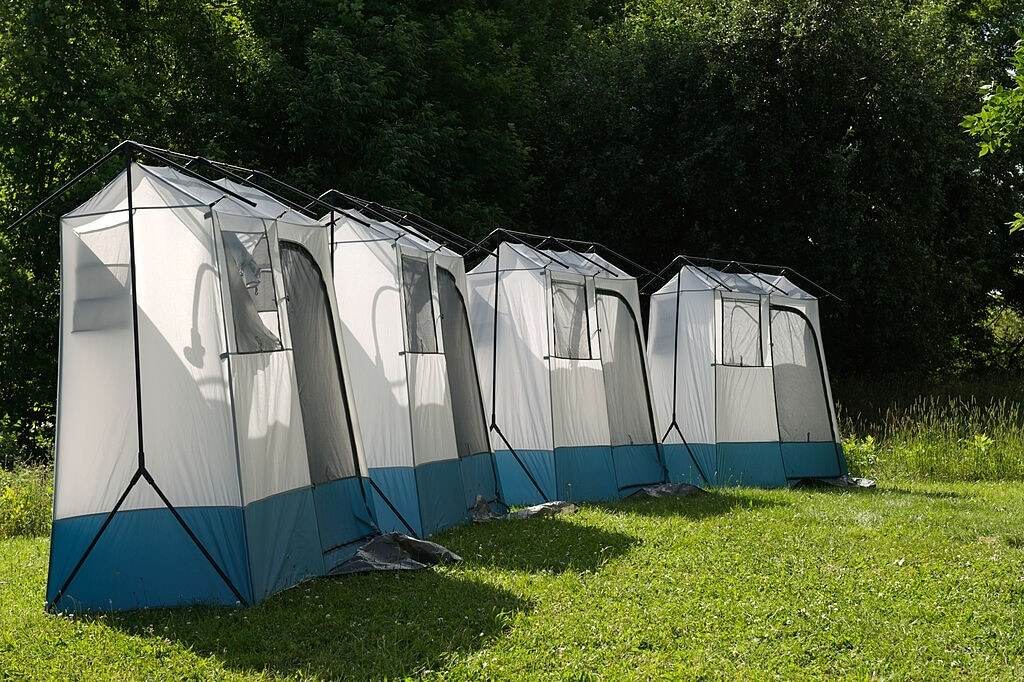
Starting a campground might be expensive but there is a cheap way to go on it. HOW TO REDUCE CONDENSATION IN YOUR RV does need to be expensive. Just don’t drive up to the pay bathhouse too easily. You can build one downstairs. Try to set up campground showers that are easy to remove or fold when you need to move to your next destination. Plan and take the time to set the showers right.
Here we are going to do a DIY freestanding campground shower.
What You Will Need:
- 4 sections of 6’ x 1/2” PVC pipe
- 8 sections of 3’ x 1/2” PVC pipe
- 8 1/2” PVC corner pieces
- Cable zip ties
- Bricks and sandbags
- A pair of 6’ x 8’ vinyl tarp
- PVC pipe cutter
Procedures:
Step 1: Use a PVC pipe cutter and cut the PVC to the desired lengths. To get 4 6’ sections and 8 3’ sections, cut the pipes in standard 10’ lengths into size.
Step 2: Connect 4 3’ pipe sections into 4 PVC corner pieces so you can make the base of the shower enclosure.
Step 3: With the help of the cable zip ties, attach the vertical pipes. Then attach the 4 6’ PVC pipe section in a vertical direction to the corner pieces.
Step 4: Next, connect the corner pieces to the top of the 6’ PVC pipes. Connect also the 3’ pipes t them so you can form a tall cube. Complete the cube formation right away.
Step 5: This time you need to hang the tarps for you to have cover when you take the shower. In this tutorial, you can take a shower that is 6 feet tall. Turn the tarp on its side to get the desired length. Secure the tarp with cable zip ties. Overlap the two pieces of the vinyl tarp for maximum privacy.
Step 6: Use bricks to support the PVC structure. It is for you to decide which side will be the opening door. Do not attach the side grommets to the vertical post on the side for you to open and close the tarp. Have the bricks and sandbags placed on the PVC pipe probably at the base area to keep the structure strong no matter how strong the wind blowing.
Conclusion
Reducing condensation in your RV is a bit challenging. But cleaning the ugly effects of unwanted moisture is more difficult. No RVs are designed to live forever but our attitude towards them can lengthen their lives even longer.
Learning HOW TO REDUCE CONDENSATION IN YOUR RV includes cleaning the rig every day. Avoid cooking or showering inside if possible. Always use moisture absorbers and install Dual-Pane Acrylic Windows so you can fight condensation both during summertime and winter days.
How do you reduce condensation in your own way? Happy to hear your thoughts in the comments.

