It goes without saying that engine detailing is not for everyone. This process not only requires a lot of time and patience; you also need a host of specialized cleaning tools to complete the job.
But in this article, I’ll show you the easy and inexpensive way to clean under the hood.
Plus, you can do it yourself in the comforts of your own garage!
But first, let’s clear up some misconceptions about engine detailing.
The Do’s and Don’ts of Engine Detailing
Suffice to say the engine under the hood is designed to run even when wet. This is the reason why your vehicle is still drivable despite a heavy downpour. Hell, off-roaders are often forging over deep mud and river crossings, and yet the vehicle still runs!
However, the engine is not designed to be soaked in water. It’s okay for the engine to get wet, but only with a light spray or mist. So if you see a friend or relative cleaning under the hood using a garden hose (and spraying a strong gush of water all over the engine bay) and assuming it’s entirely okay, you better err on the side of caution.
You see, the engine bay is littered with sensitive electronic parts and sensors. This is especially true in modern cars. And even though certain external parts of the motor can survive some light washing, the same doesn’t hold true for those electronic parts. This includes the alternator, the fuse boxes, distributor, engine sensors, and the car battery.
And since it will take a ton of patience (and microfiber towels) to clean under the hood without using water, you’ll need to take the necessary precautions before going wet and wild with a water hose.
Engine Washing and Detailing: Precautionary Measures
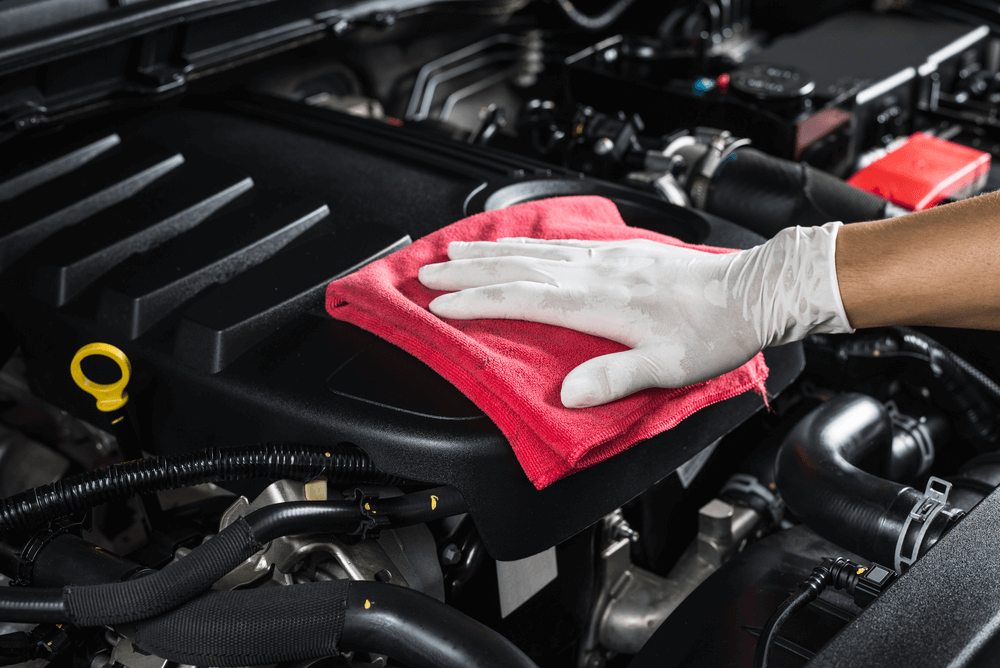
Before we proceed to the actual cleaning part, here are a few precautionary measures you need to undertake before cleaning the engine bay.
- Disconnect the battery terminals or remove the battery from the engine bay. I prefer to remove the battery in order to free up more room under the hood. This makes it easier to clean or access hard-to-reach areas. But if you don’t want to remove the battery, at least cover/wrap it using a plain old garbage bag after disconnecting both terminals. Remember that as long as the terminals are connected to the battery, there is electricity feeding into the various electronic components of the motor. And you don’t want electricity and water to mix as you clean under the hood, right?
- You should also cover/wrap the alternator and distributor with a garbage bag. Also, professionals remove the fuse box cover and clean it separately. You don’t need to remove it altogether. You can cover it with a garbage bag or plastic bag as well.
- It is better to remove the airbox and intake tube. This will prevent messing up the air filter inside the airbox due to water contamination. This will also create more room under the hood so you clean the motor more effectively. Of course, you can proceed without removing the intake, but you’ll need to wrap/cover the MAF sensor and related parts with a garbage bag if you don’t.
- NEVER wash or spray water if the engine is hot. Truth be told it is easier to remove dirt and grease from a warm engine, but only if it’s warm enough to touch. But if the engine is scalding hot, allow it to cool for 20 to 30 minutes before proceeding.
- Don’t forget to wear protective gloves and eye protection when working under the hood. Safety always comes first.
- Avoid using harsh detergents or strong degreasers when cleaning the engine bay. You can use all-purpose cleaner diluted in water or mild dish soap.
- You don’t need to clean the engine bay regularly. Once or twice a year is enough. If you’re the type who likes to maintain a clean engine bay, use a waterless car wash like the Aero Cosmetics Waterless Wash and Wax in between cleaning with water and soap. Dilute the concentrate with water in a spray bottle, apply liberally, and wipe dry with a microfiber towel. This will keep the engine bay clean. You can do this once a week or twice a month.
How To Clean Under The Hood
Materials Needed:
- All-purpose cleaner or dish soap
- Spray bottle filled with water
- Garden hose with a spray attachment
- A set of soft detailing brushes (preferably with long handles)
- A bunch of microfiber towels
- Vacuum cleaner, air blower, or compressed air (whichever you have)
- Spray wax
- Plastic restorer
Step 1: Park the vehicle on safe and level ground. Don’t forget to engage the handbrake!
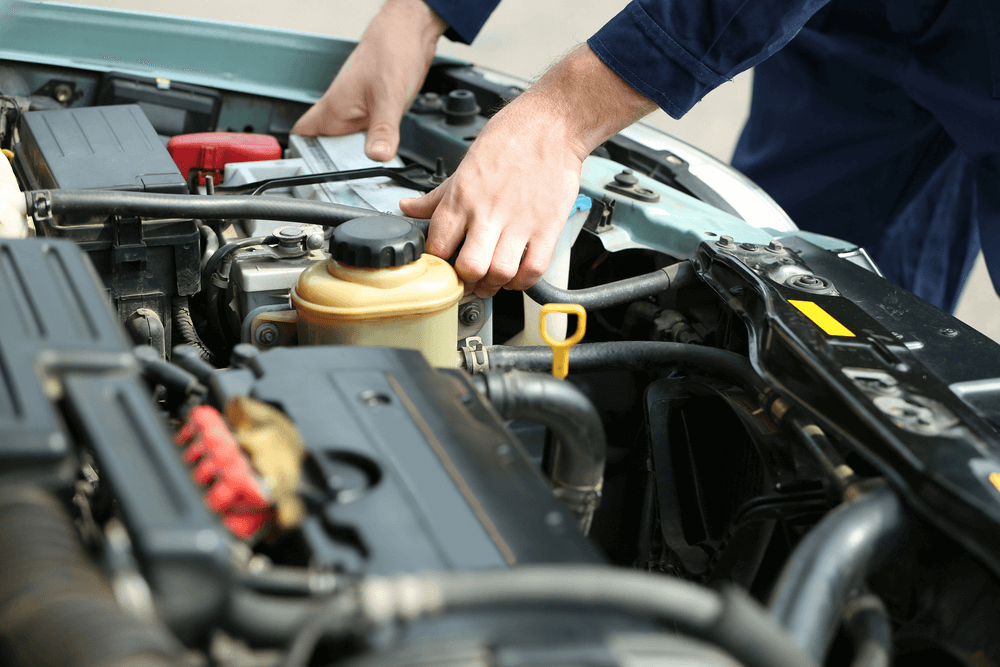
Step 2: Pop open the hood. Again, make sure the engine is cool enough before proceeding. Check the oil and transmission dipstick and make sure each is firmly inserted into their respective holes. You don’t want water entering the oil and fluid reservoir. This also holds true for the brake fluid and power steering reservoir. Just go over and make sure everything is tight or sealed.
Step 3: It is better to remove standing or loose dirt and grease before washing the motor. For this, you can use a detailing brush and vacuum cleaner/compressed air. Use the brush to loosen up the dirt using your left hand while sucking the dirt using a vacuum in your right hand. This is the easiest way to do it.
Alternatively, you can use old microfiber towels to remove dirt and excess grease. The purpose of this is simple. Removing most of the loose and dry dirt under the hood will prevent dirty water from rushing in hard-to-reach and sensitive areas.
Step 4: After ‘dry cleaning’ the engine bay, it’s time for the wash. But before that, make sure all the sensitive electronic components are covered in a plastic bag or garbage bag. Again, it is better to remove the battery, the airbox, and the intake hose, but you can proceed as long as the parts are covered or protected with plastic.
Step 5: Now you can start wetting the motor using a garden hose or pressurized washer. The trick here is to spray a light mist of water. Adjust the spray output accordingly.
Simply wet the entire engine bay using a back and forth motion of the garden hopes. Avoid concentrating on a single area as you spray water.
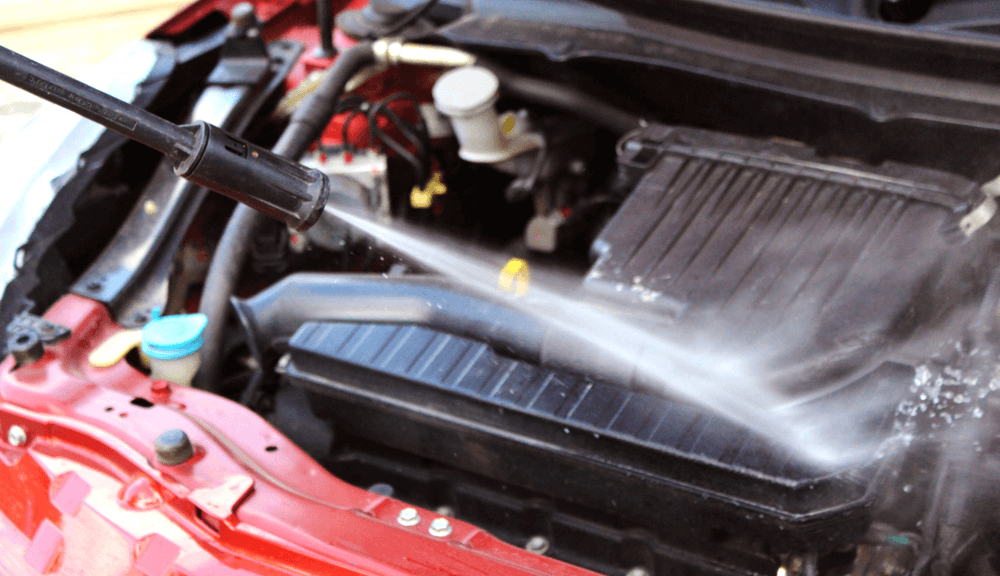
Step 6: The next step is to spray all-purpose cleaner all over the engine bay. Grab the cleaning solution and spray away! Allow the cleaner to dwell or soak for at least 2 minutes. Start under the hood itself and the hood liner and work your way into the actual engine bay.
Step 7: Grab a soft detailing brush and lightly agitate the wet engine parts. The thing to remember here is to never allow the cleaning solution to dry out. Spray the cleaner and brush each component lightly. If there are hard to remove stains and grime, use an old toothbrush. The firmer bristles will provide more scrubbing power to get rid of tougher dirt and stains.
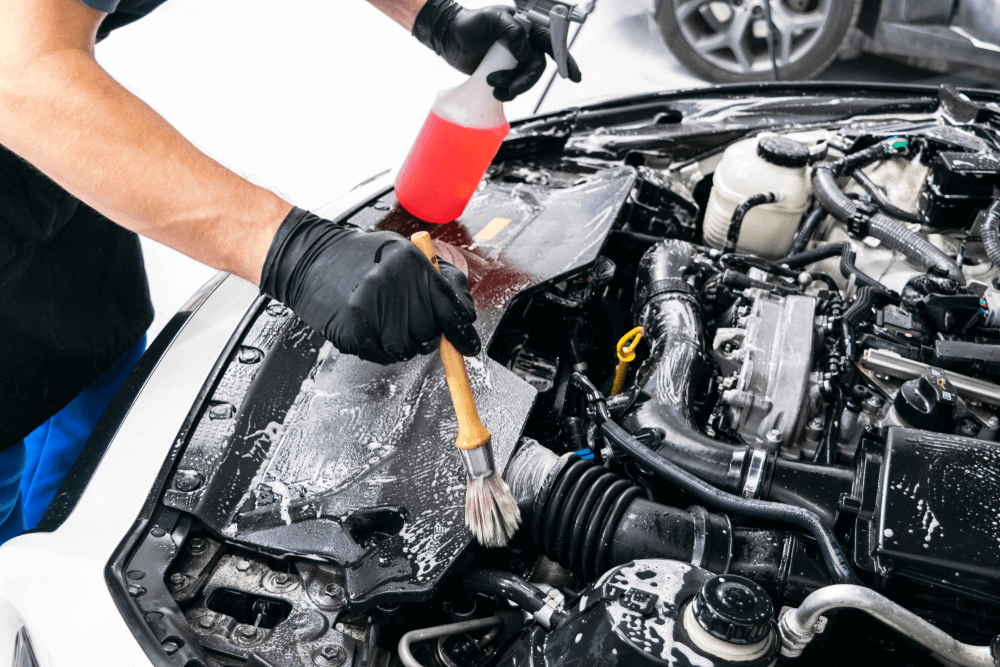
Step 8: Grab the hose and rinse off the cleaning solution. Again, only use a light mist rather than a strong gush of water.
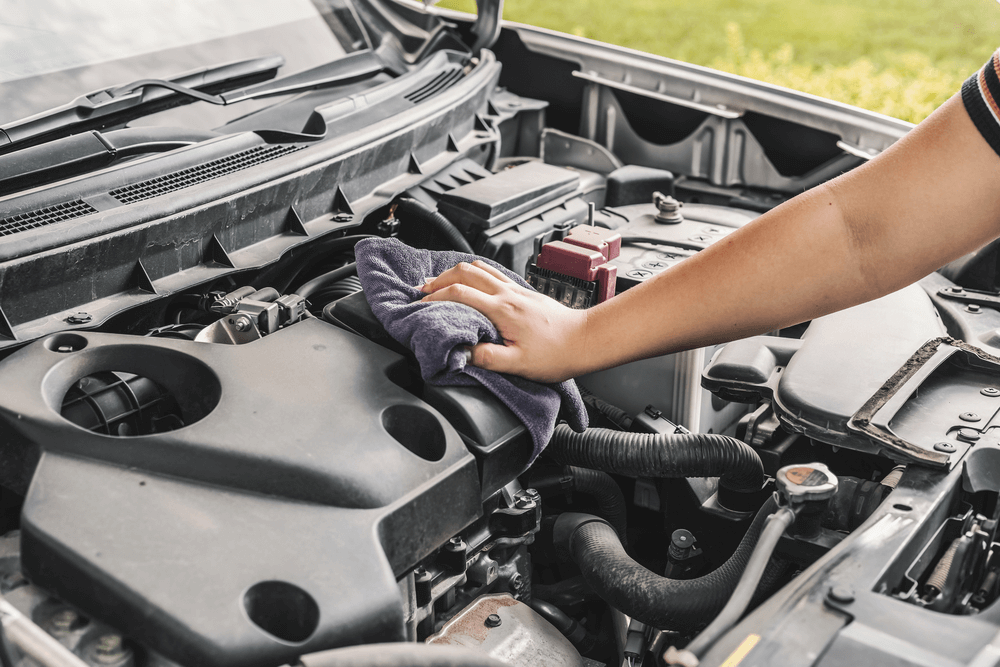
Step 9: This is the drying process. There are many ways to do this. You can go ahead and use a microfiber towel to wipe the engine dry. You can also use a wet vacuum cleaner to suck out excess water from all the nooks and crannies in the engine bay. If you have access to compressed air, lightly blast away excess water until dry.
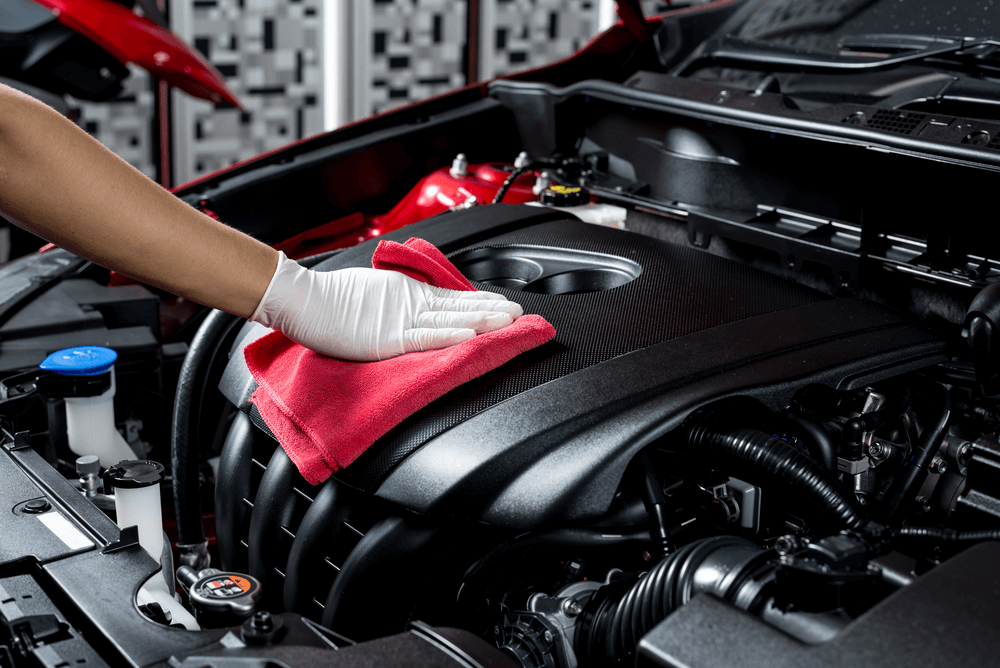
Step 10: After washing and drying the engine bay, it is time for the detailing process. Start by applying spray wax on all painted surfaces under the hood. This will not only protect the painted areas, but it will also make it shine for a cleaner and just-detailed look.
For this step, I like using Meguiar’s Ultimate Quik Wax. It is a polymer-based wax that provides a deep shine and sufficient water-beading protection. Spray a liberal amount of the product and wipe dry using a microfiber towel.
Step 11: We’re not done yet. We also need to revitalize and protect all the plastic and rubber parts under the hood. For this purpose, try using the Meguiar’s Ultimate Black Plastic Restorer. You probably heard some people using WD-40 or Armor All Protectant, and that’s fine if you’ll ask me. However, those products will leave a greasy finish and will only attract more dirt as you drive the vehicle.
The Meguiar’s Ultimate Black is formulated to restore the color and sheen of plastic, rubber, and vinyl components. It is easy to apply and leaves a non-greasy finish, which is perfect for engine detailing. Apply the product liberally using a soft detailing brush and leave it for five minutes. Afterward, give it a final wipe with a microfiber towel and you’re done!

